Hambini Thread Together Bottom Bracket Installation
NOTE THESE INSTRUCTIONS ARE FOR THREAD TOGETHER BOTTOM BRACKETS AND NOT “THREADED” BOTTOM BRACKETS
Hambini thread-together bottom brackets are ideal where there are obstructions in the shell that do not permit the use of a one-piece bottom bracket. If a one-piece bottom bracket is available to fit the frame, then this will provide superior performance.
Tools required:
- Appropriate Hambini Threaded Installation Adaptor. (click here for BB86 units)
- 32mm Socket or Wrench and Spanner
- Loctite Activator 7649 (this has varying numbers in different markets)
- Loctite 641 Medium Strength Retaining Compound
Installation Instructions
- Ensure All surfaces are completely clean and free from any grease.
- Prepare the frame by spraying the activator onto the seating surfaces
- Wait for the activator to evaporate
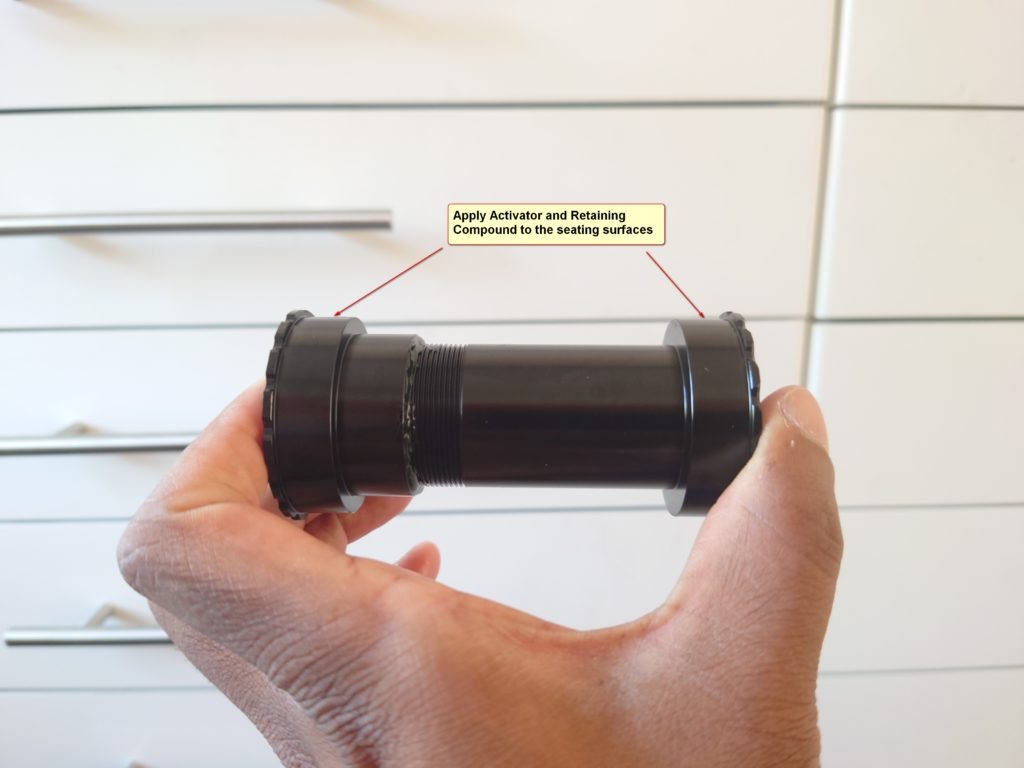
- Apply retaining compound to the seating surfaces of the frame or the bottom bracket. A photograph is shown below.
- The bottom bracket consists of two parts. A male threaded part is installed on the drive side (long length). A female threaded part is installed on the non-drive side (short length)
- Insert the male part through the drive side of the frame. In some circumstances, this part may have to be pushed in with a press – if this is required, then force must be applied to the outer race of the bearing and not the inner race or any Delrin sleeves/adaptors.
- Insert the female part through the frame and screw it together
- The recommended torque is 26Nm
- Wait for at least 48 hrs before riding
Notes
This bottom bracket has a clearance fit on the seating surfaces and may appear loose on normal entry, this is normal and the slack will be taken up by the retaining compound. A gap of 0.1mm is permissible and very few frames would be outside of this range.
A socket type tool that has full engagement and uses machined surfaces for engagement is recommended. Open spanner type tools that are typically jet-cut sheet steel are not recommended.

